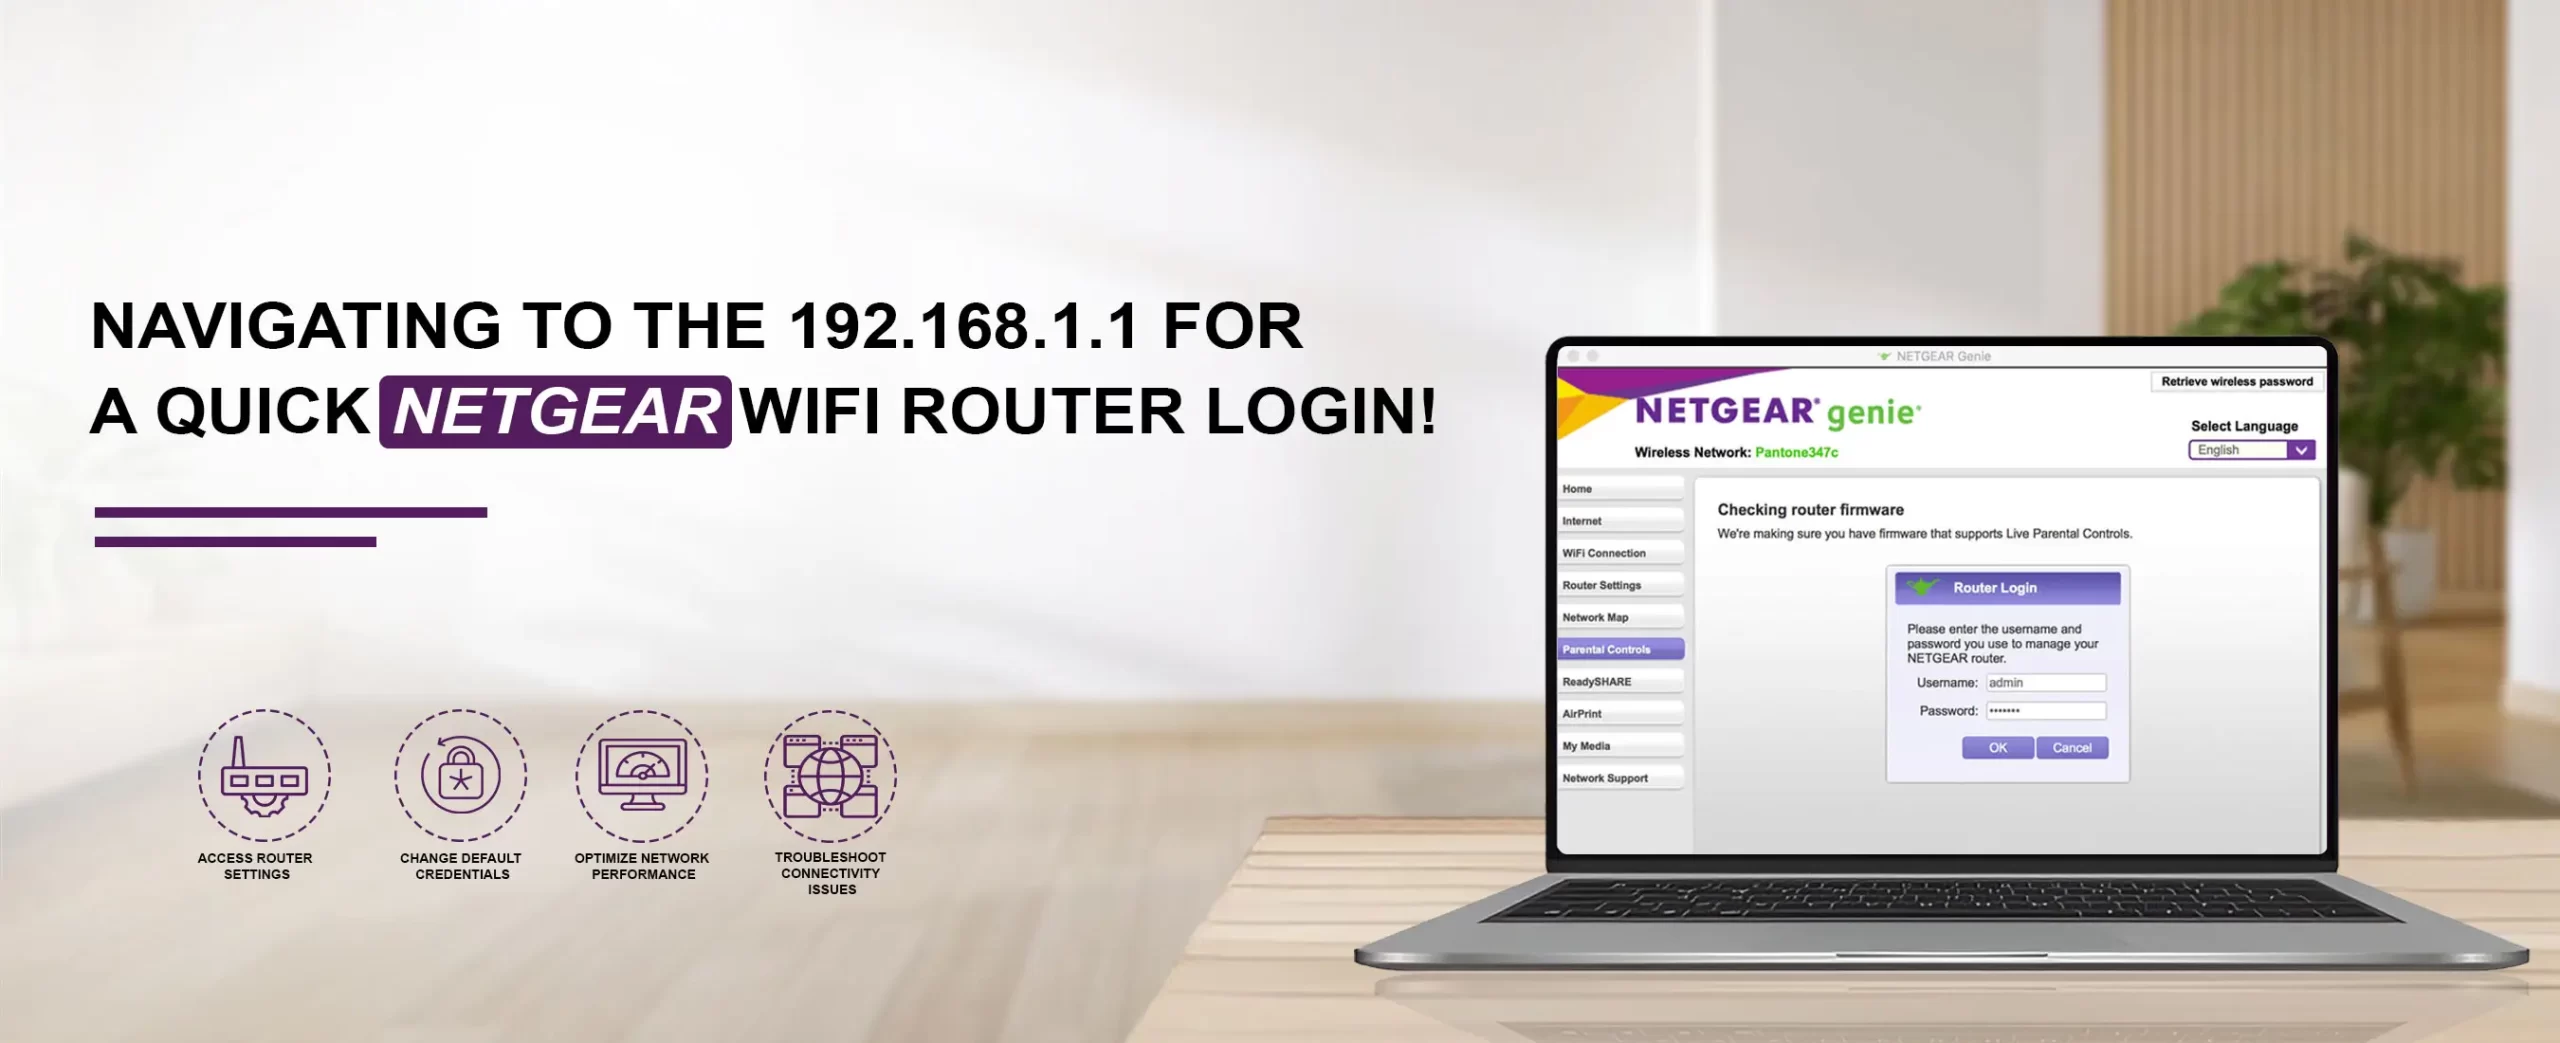
Step-by-Step Instructions For the 192.168.1.1 Login!
Nowadays, Netgear offers a wide range of high-performance wifi routers designed for enhancing home networking and minimizing dead zones. With the latest wifi technology, these networking gadgets are capable of fulfilling your modern-day networking demands. However, to unveil its potential, you must log into the Netgear routers via the 192.168.1.1 gateway. Therefore, if you own this router and want to access its impeccable features, then this guide walks you through the detailed Netgear login process!
Prerequisites For the Netgear Wi-Fi Router Login
To begin with, with the Netgear WiFi router login, you must consider certain things. Let’s have a look below:
- Firstly, the router must be working and powered on.
- Then, your computer should be connected to the 2.4 GHz wifi network.
- A Windows system is compatible with the Netgear router.
- Install the router at a minimum distance from your device.
- Your devices must have a good signal strength.
- Latest firmware versions on the router and use the latest web browser.
- Moreover, you should have accurate login details.
- Most importantly, connect your device to the correct Netgear network if you’ve multiple devices.
How to Accomplish the Netgear router login?
Indeed, logging into the web-based utility of the Netgear router is a simple process. Before proceeding with this, you must have an active Netgear account and be connected to the Netgear wifi router’s network.
Following this, select a suitable method to log into Netgear’s admin portal. However, you can perform the Netgear login via the default web address and using the Netgear Nighthawk app. If you want to access Netgear’s excellent features, then complete the login procedure first. To know the stepwise instructions for the 192.168.1.1 login, jump into the next sections.
http //192.168.l.1 Login on the Windows System
- To begin with, power on your networking device.
- Then, connect your computer to the router’s wifi network.
- Here, you can opt for the wired or wireless connections.
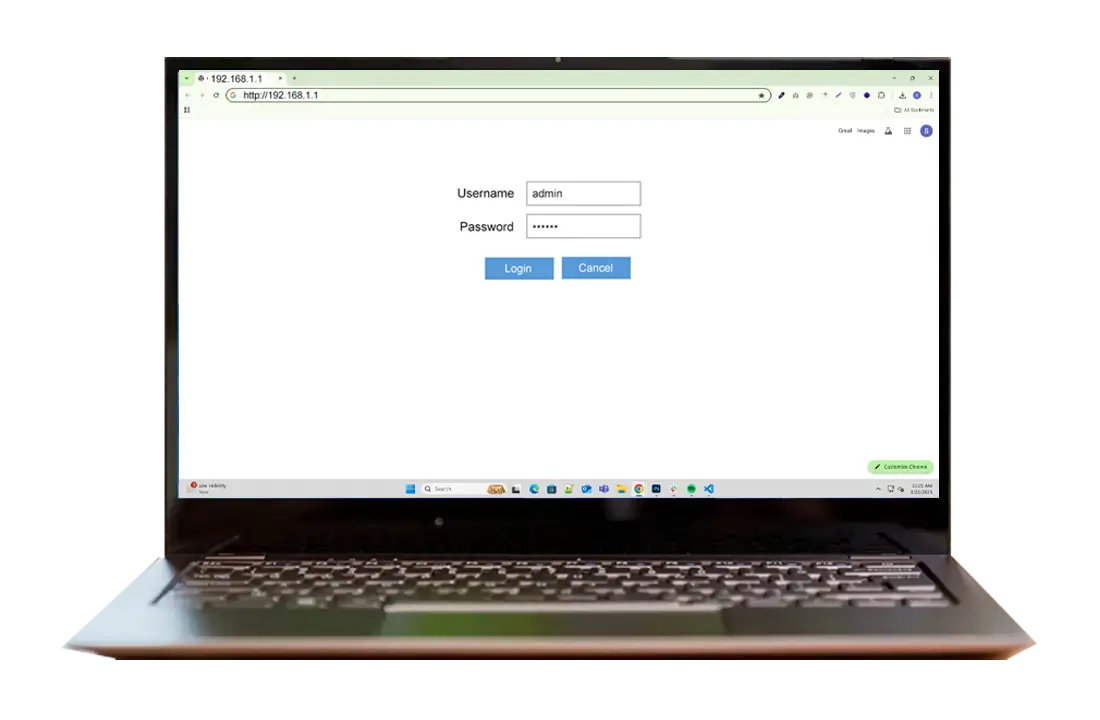
- Now, launch any web browser on the wifi-enabled computer.
- After that, enter the routerlogin.net web address or 192.168.0.1 IP address on the URL bar.
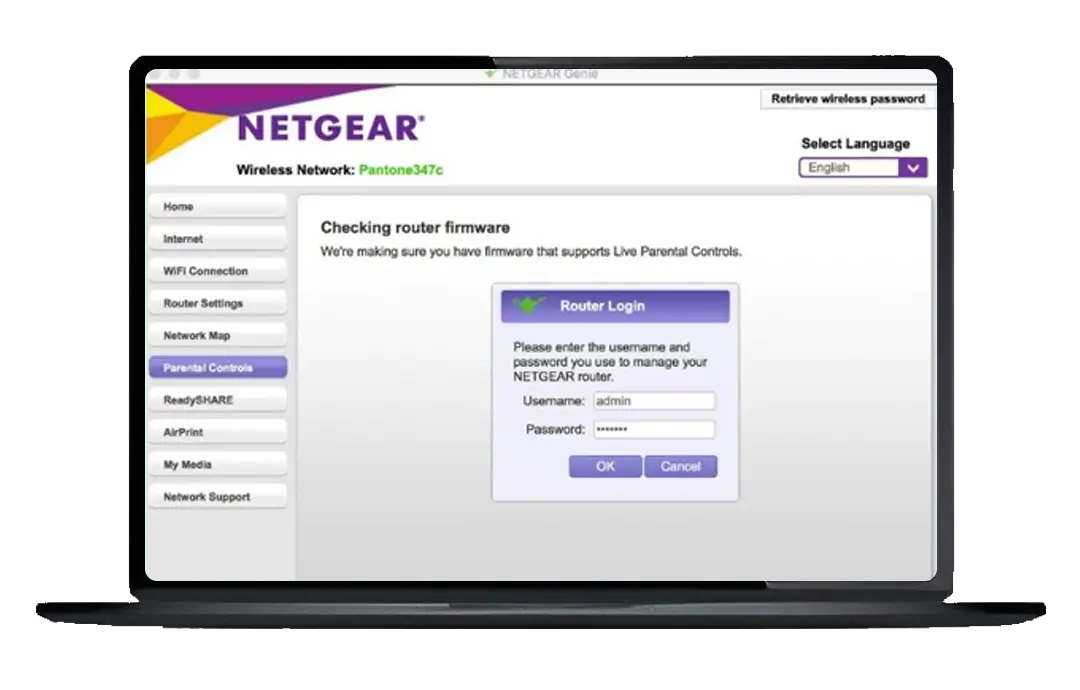
- The Netgear login page appears on the screen.
- Next, enter your default username and password in the login window.
- Hit on the ‘Login’ button, and you enter the Basic home page of the Netgear router.
- Finally, the Netgear router login finishes.
192.168.1.1 Login Doesn’t Work? Explore Why!
Meanwhile, some users failed to log into the Netgear router’s web-based utility. However, this may occur due to various reasons such as incorrect IP address, internet connectivity, IP conflicts, browser issues, etc. However, to fix these issues, you can use these quick tips:
- Foremost, check your wifi signal strength and stabilize your internet connection.
- Make sure your computer is connected to the correct wifi network.
- Cross-verify the SSID and password before connecting your devices.
- If you are receiving network drop-offs, reposition your wifi router.
- Place the router in a central and ventilated area.
- Further, resolve the browser issues by clearing cookies, cache, and other data.
- Shift to another browser or use routerlogin.net instead of 192.168.1.1.
- However, opt for the Nighthawk app for easy login.
- Additionally, remove network interference such as mirrors, microwaves, etc.
- Check your router settings and use the different IPs for different devices.
- Disable the VPN, anti-virus, and other security extensions during the login.
- Contact your ISP authorities to fix the network connectivity issues.
- Lastly, power cycle your Netgear router to fix the glitches and bugs.
How to Complete the Netgear Login If the 192.168.1.1 IP Doesn’t Work?
If you failed to access and log into the Netgear routers via the http //192.168.l.1, then you can use the routerlogin.net web address or 192.168.0.1 IP address instead. On the other hand, you can also use the Netgear Nighthawk app for router login. For the complete login process, stay tuned:
- Initially, plug your Netgear router into the power supply.
- Then, install the latest version of the Nighthawk app on your smartphone.
- Now, launch the app, and a login page appears.
- After that, tap on ‘Create Account’ and register your device on the app.
- Enter the required details on the Create an Account page and complete this process.
- If you have a valid Google account, then use the same for direct login.
- Enter your existing login details if you already have an account.
- At last, the router login procedure ends here.
Finally, you now completely understand the 192.168.1.1 login procedure. If you are still seeking assistance, talk to our experts in the chat section!